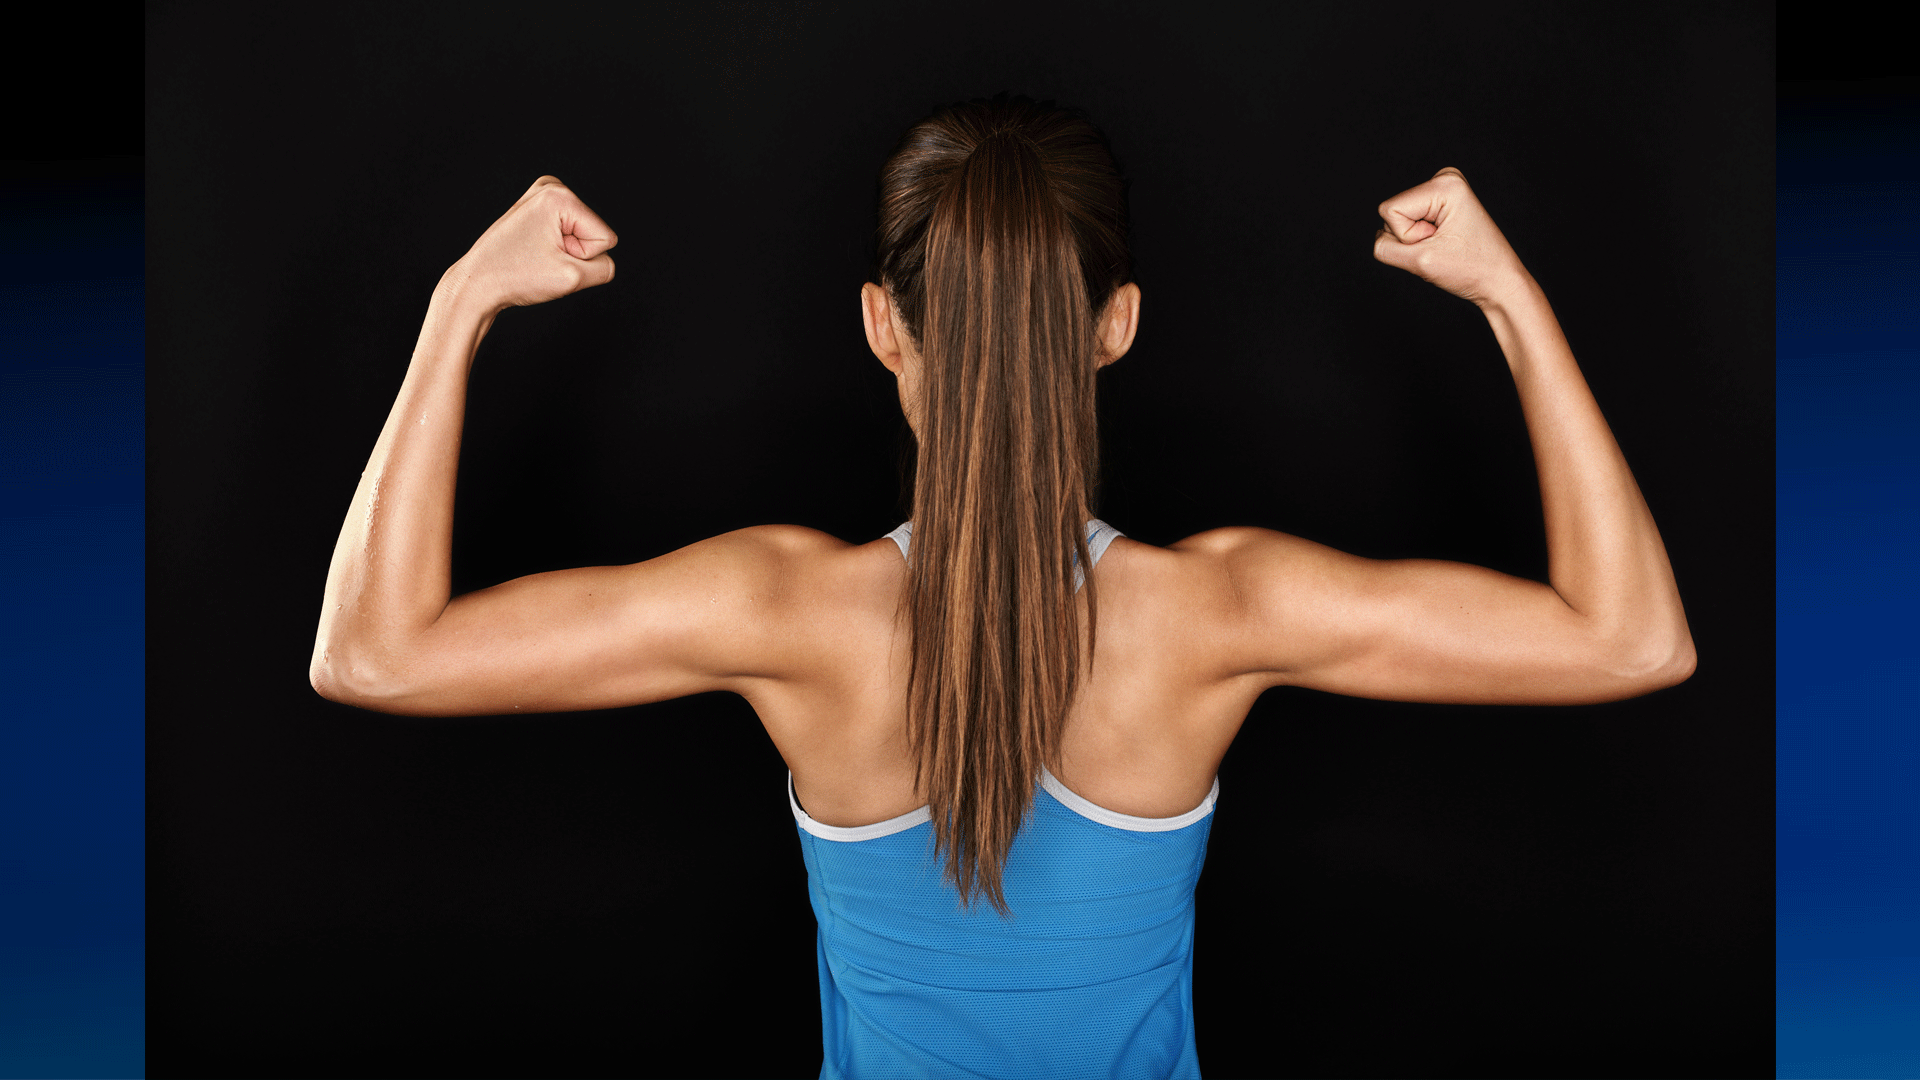
This final trimester is when many women feel their extra weight to be unbearable. Gentle exercise is highly important in this stage, especially in reducing edema and correcting postural imbalances caused by the extra weight of the breasts and baby. Edema occurs when the hands, feet, and ankles swell up with excess fluid. You can reduce edema with exercises designed to bring mobility to specific areas and in turn reduce water retention in those areas.
In the third trimester, the digestive system has reduced space and tends to slow down causing constipation and heartburn. Drinking plenty of water and exercising everyday (even just a short walk) will help.
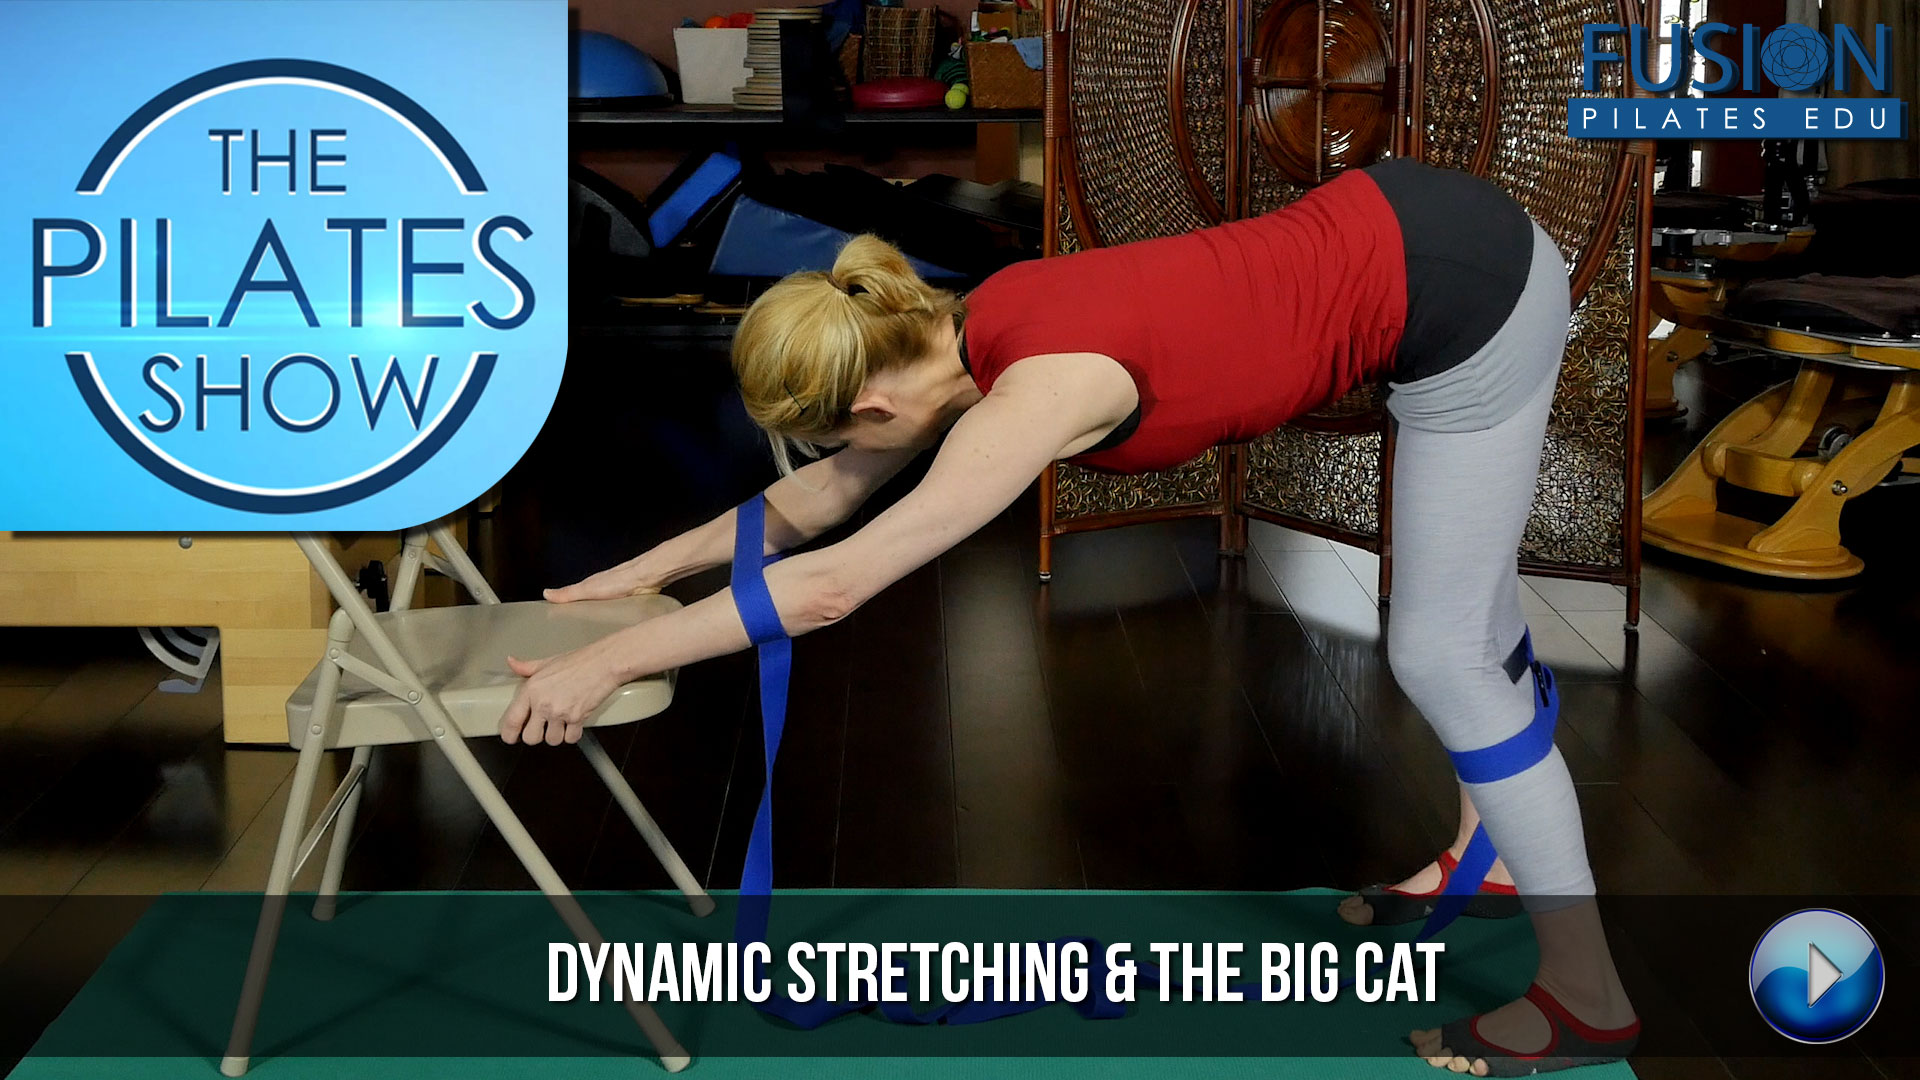
As in the second trimester, you should not be lying on the back during the third trimester. One of the best positions in late pregnancy for both exercising and relaxing is on all fours (either hands and knees or forearms and knees) as it takes the weight of the baby and uterus off the spine. (See exercise below.)
Using specific relaxation and breathing techniques (see exercise below) will allow you to experience a profound rest that is hard to come by in the third trimester.
A big focus in late pregnancy is preparing the pelvic floor muscles for all the stretching, opening, and letting go that they will need to do during labor and delivery. Hopefully in your first two trimesters you were consistently doing your Kegel exercises. Remember that we must work the pelvic floor muscles just like any other muscle in our body finding both the strength and flexibility. Most people tend to focus on just the concentric movement (tightening) while doing the exercises. Try to think of both the lengthening and shortening of the muscles while you work them (see exercise below). These muscles, after all, have the big challenge of totally opening during delivery and contracting back tightly right after. Imagine as you work that your pelvic floor muscles are a trampoline.
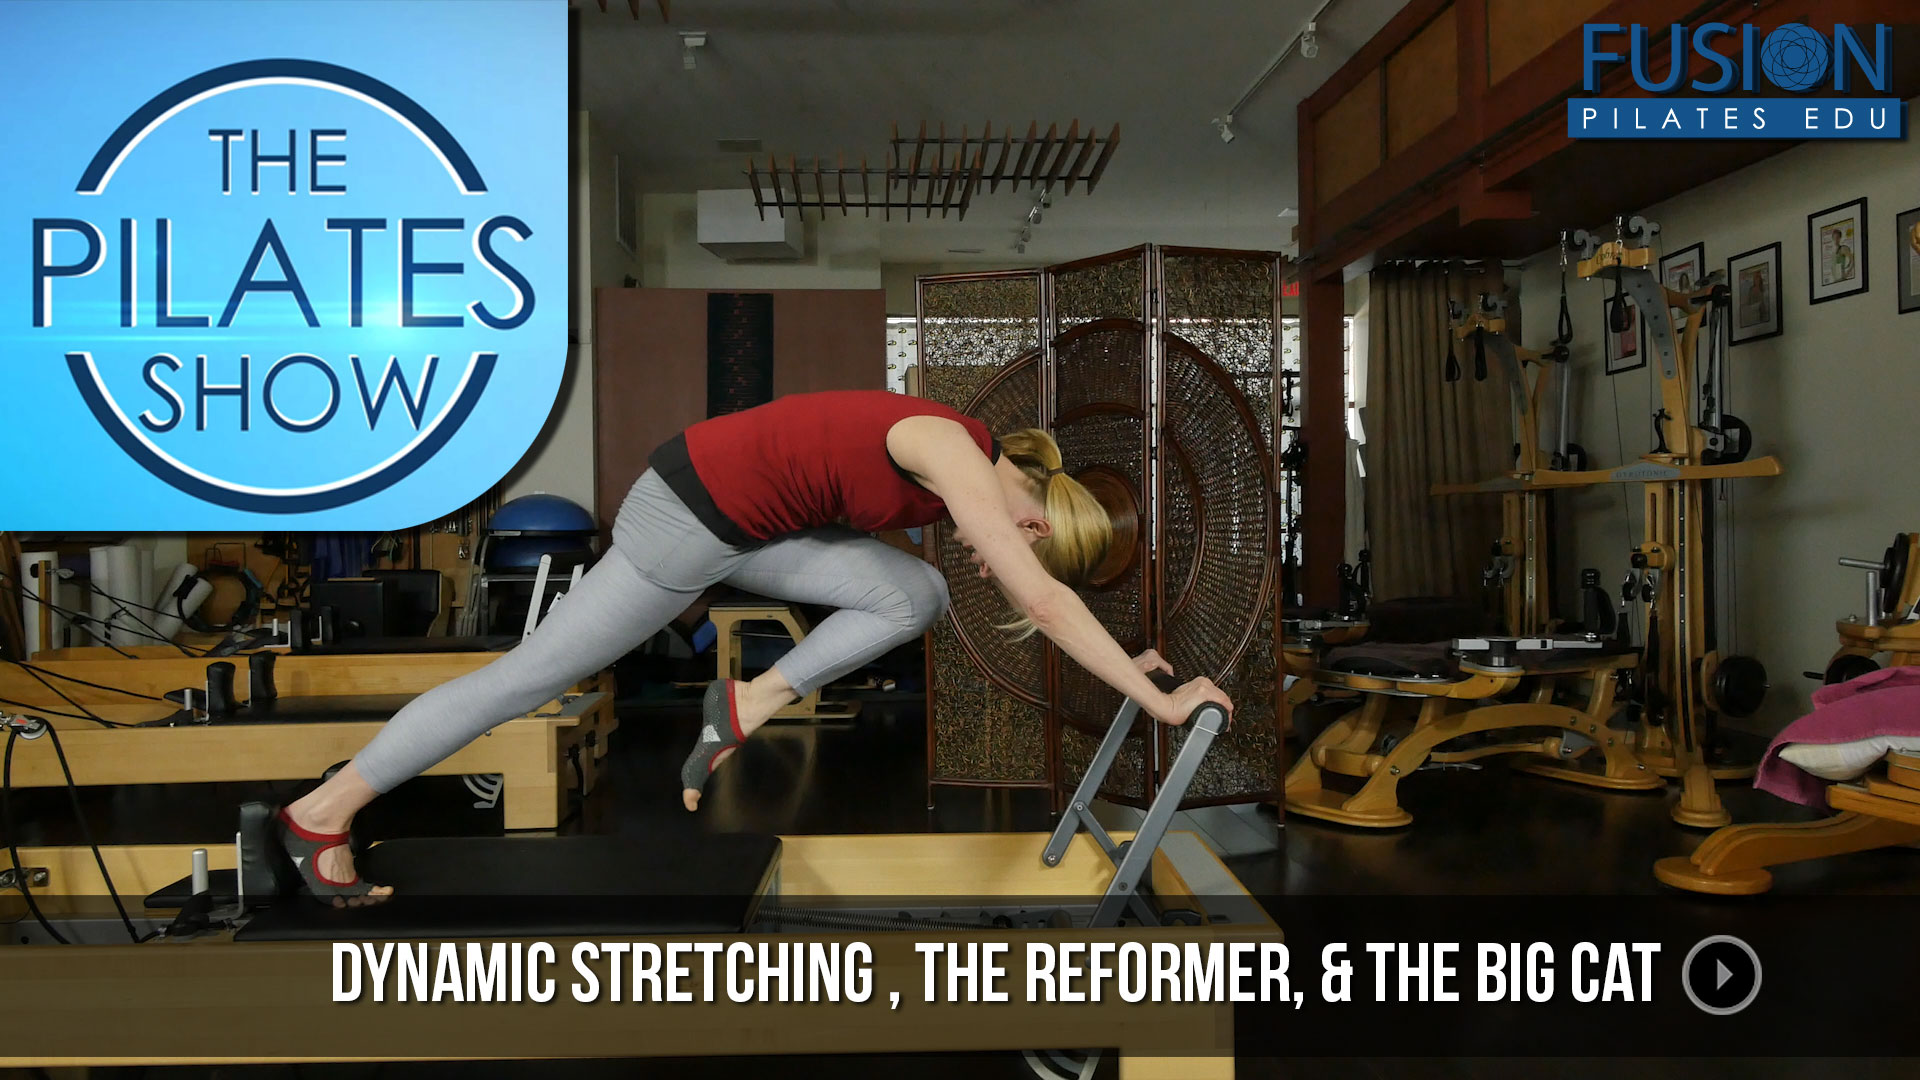
Exercise: CAT/CAMEL
This pose is excellent throughout pregnancy but especially in the third trimester and during labor. During labor this pose creates circulation and can be used to turn a baby to its ideal position for birth.
• Start on your mat on all fours. The shoulders are right above the wrists and hips above the knees.
In pregnancy, wrist sensitivity and carpal tunnel syndrome are common because of the release of hormones. If you are experiencing this wrist sensitivity or pain while on all fours here are some suggestions you can try. Roll up your mat a couple of times and place the heel of your hand on the mat with the fingers hanging off. This will lessen the bend of the wrist and may give you some relief. You can also try going onto your knuckles. Some find this a hard balance position, but it takes any pressure off the wrists. You can also try lacing your fingers and bringing your forearms onto the mat.
• Inhale and lengthen the spine.
• Feel the sternum pull away from the tail.
• As you stretch, remember to pull the deep abdominals in to support the lumbar curve.
• Exhale and from the tailbone start to curl and round the spine coming into the scared cat back position.
• Inhale and from the tail start to lengthen the spine.
• Exhale and from the tail start to curl.
• Slowly do 4 to 6 sets and then sit back into Child’s pose to rest.
Exercise: SIDE LYING RELAXATION
Tension is released through this focused relaxation exercise. By quieting the mind and directing attention to specific areas of the body, tension will melt away.
This relaxation exercise is especially helpful during the first stage of labor (when the cervix is opening). Tight areas can be identified and relaxed between contractions. This will save energy for the active second stage of labor (the pushing stage) and birth itself.
• Side-lie on stacked mats and/or blankets so you are comfortable.
• Put your head on a pillow with your bottom arm folded underneath.
• Put a big pillow between the legs. Make sure it supports the inner thighs, ankles, and feet.
• Close your eyes and start to scan the body for tension.
• As you go from the toes to the top of the head take deep breaths. Take a little more time with any areas that feel particularly tight. Send the breath into that tight area, and on the exhale try to melt the tension away.
• As you scan the body, ask each part to relax or to melt away.
• This will give you (especially if you are in the third trimester) a profound sense of rest that is hard to come by.
Exercise: PELVIC FLOOR LIFTING
Imagine your pelvic floor as a Chinese lantern that reaches all sides of the pelvic bowl. So not just from the center but reach and lift from all the side-walls. On every exhale this lantern gets a little taller.
You can try this exercise in a number of positions–on all fours, sitting, side-lying.
• Visualize the bony landmarks at the bottom of the pelvic floor–pubic bone, tail bone, and two sitting bones.
• Visualize the muscles that connect to these four points. This is your pelvic floor lantern.
• On the first two breath cycles focus on just stretching the pelvic floor.
• Inhale and stretch through all four points.
• Exhale and again stretch through all four points.
• Do one more breath cycle, this time thinking about stretching and lengthening the muscles.
• As you do this lengthening also think about the pelvic organs adding their weight and dilating the muscles even more.
• Now add the lifting and contraction of the pelvic floor muscles.
• Inhale and again feel the muscles lengthening.
• Now on your exhale feel the muscle fibers slide together so the lantern shape becomes a bit smaller and starts to lift.
• On your next inhale hold the lift of the pelvic floor.
• On the next exhale try to lift it a bit more.
• Try 2 or 3 more breath cycles, keeping the pelvic floor lifted on every inhale and trying to find a bit more lift on every exhale.
• When you are ready to release the floor, do it on a slow exhale.
• Rest at least 2 or 3 minutes before you do another set.
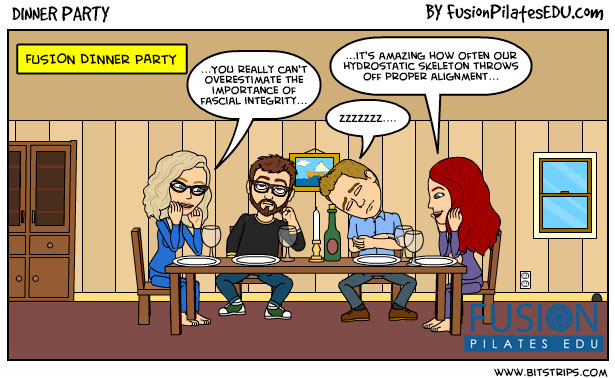
~ by Jennifer Gianni
What do you think? Comments welcome!


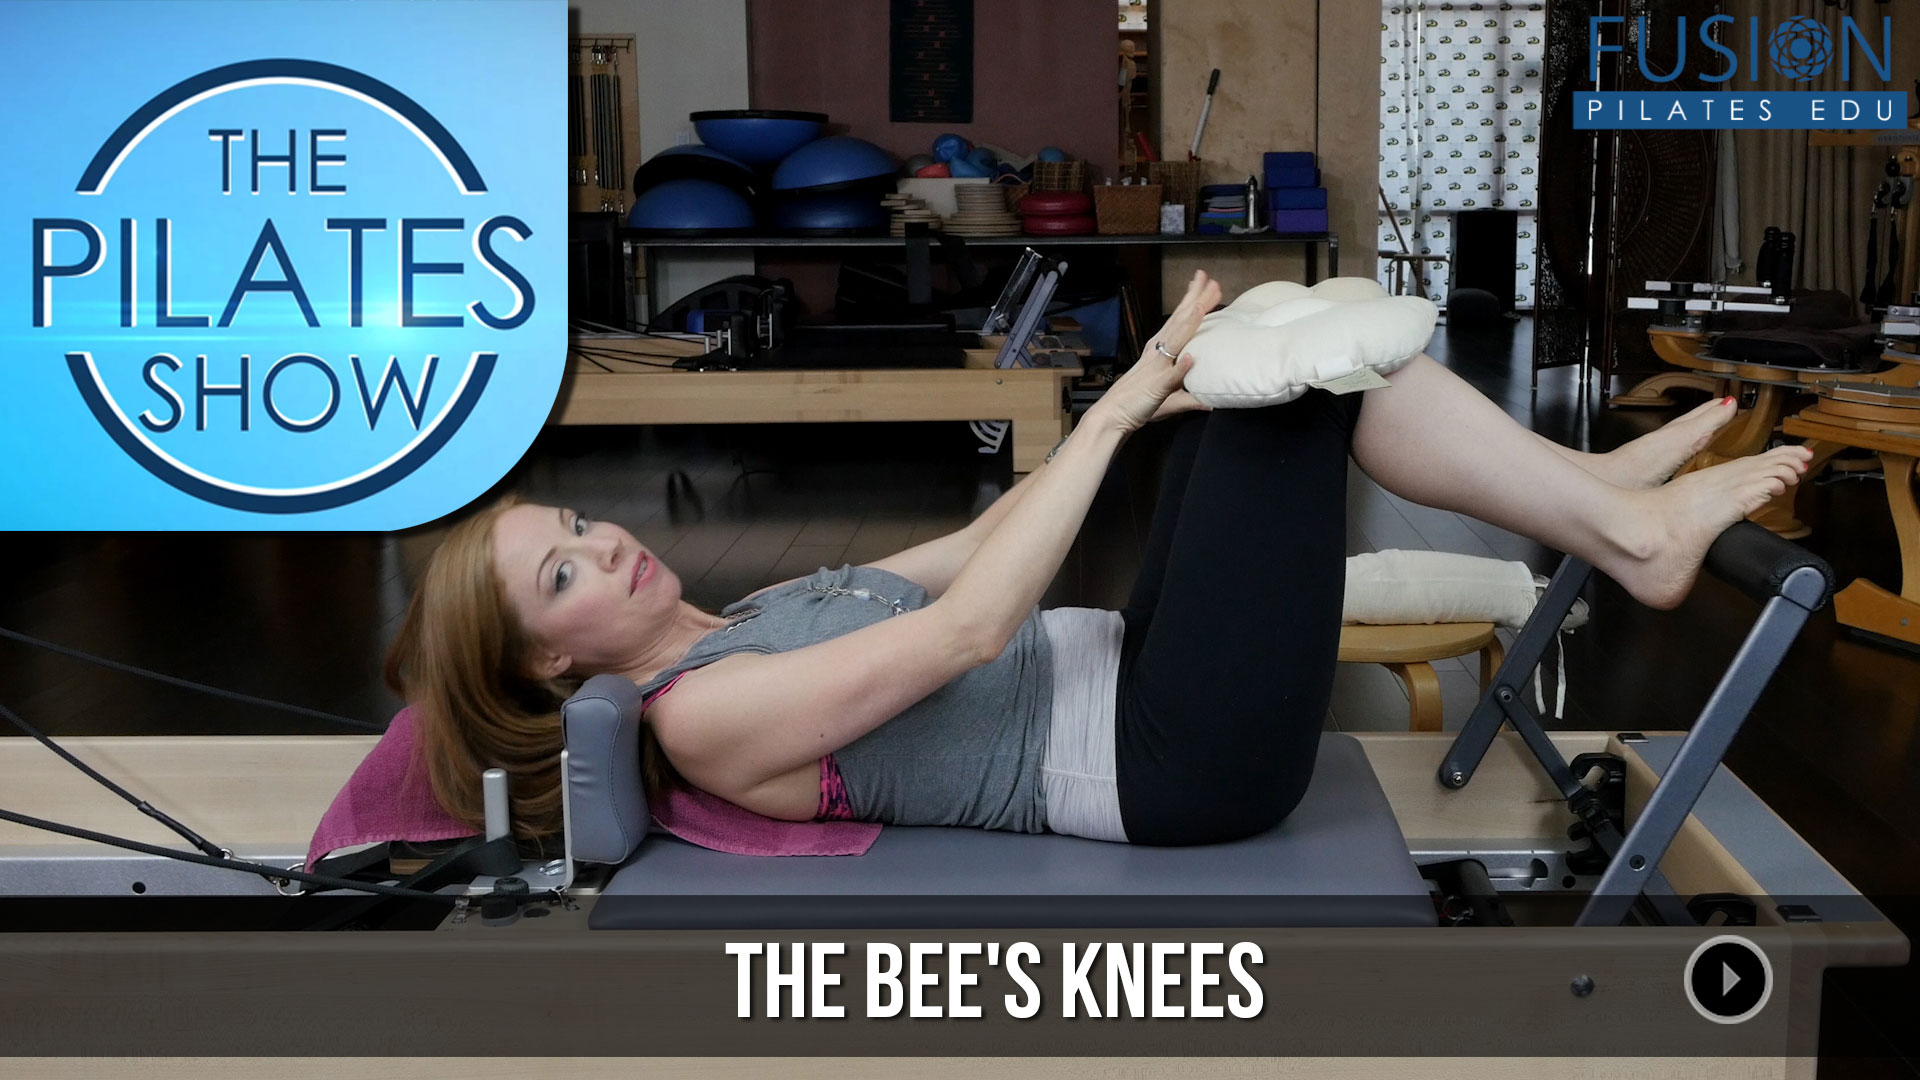
 The skills needed to perform calf raises correctly are many. And this work is not just for ballerinas either. Almost every client that you will see will actually walk into your door. This means that they need as much range in the ankle as possible as well as as much mobility as possible through the first ray of the foot. By using the chair, your clients will not only be able to work their end range in their point, but also be able to work and open up their Achilles tendons at the same time. This creates a beautiful balance in the lower leg that carries on up the kinetic chain.

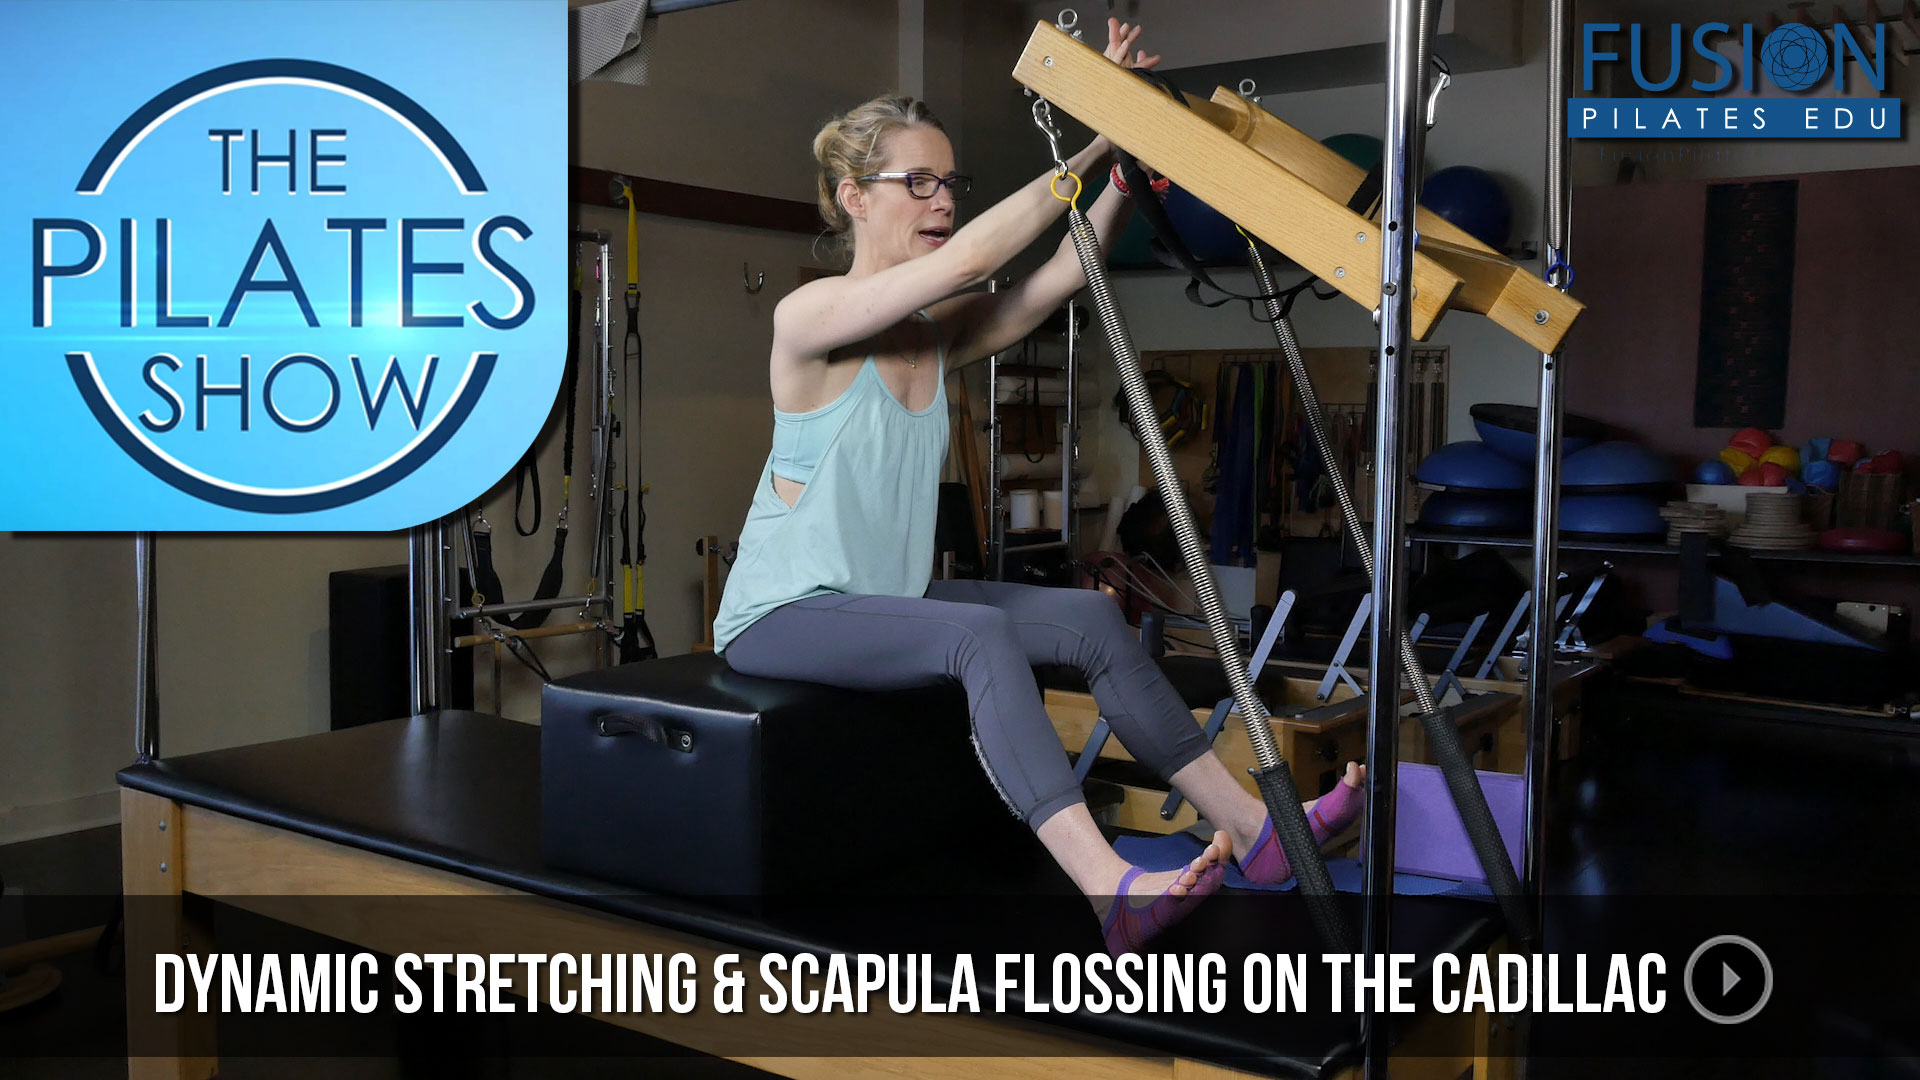
 The Cadillac is such an amazing, versatile piece of equipment. And with that comes many bells and whistles to attend to when caring for it. Like we have said before, caring for your studio environment is an essential part of belonging to a studio team. The safety of your client needs to be of the utmost concern, and with the Cadillac’s many moving parts it can become dangerous in unskilled hands. Watch this video to learn more about how to keep your Cadillac running smoothly and safely.
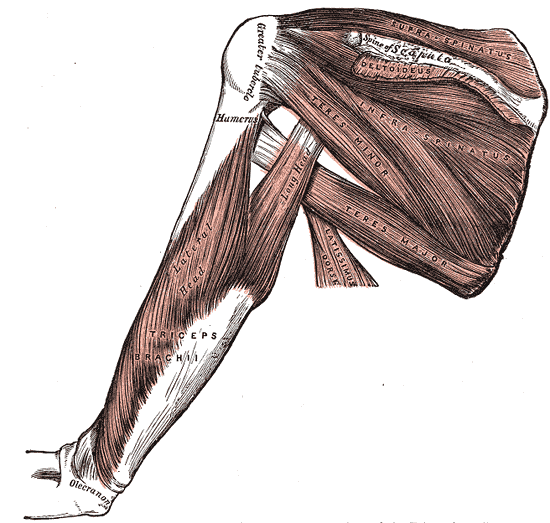

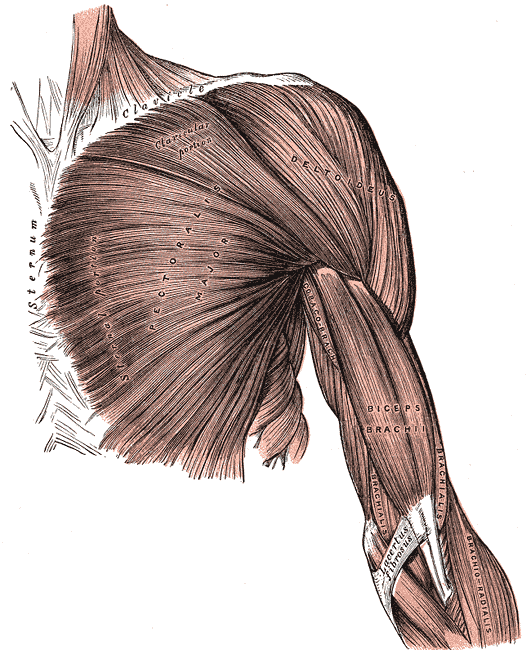
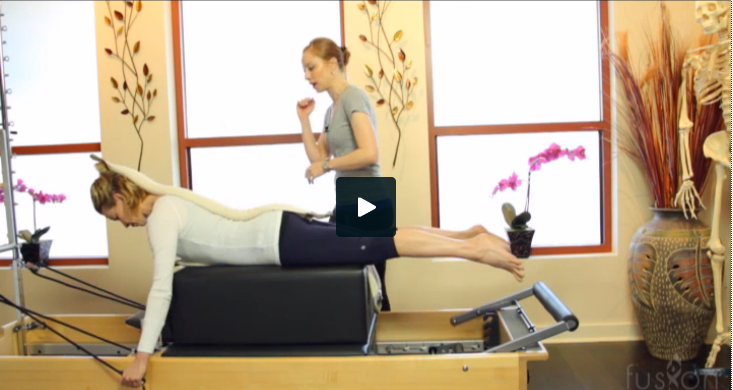
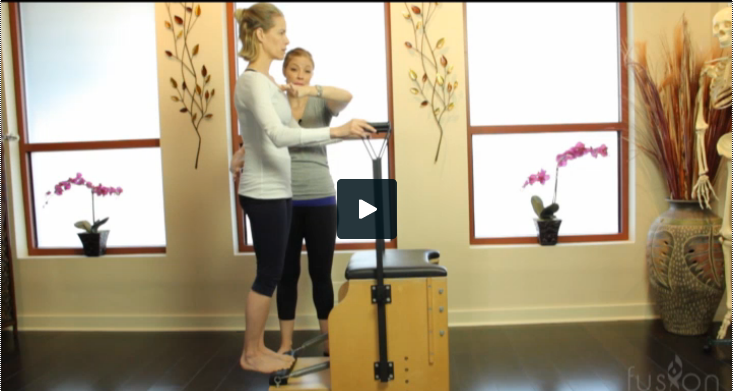
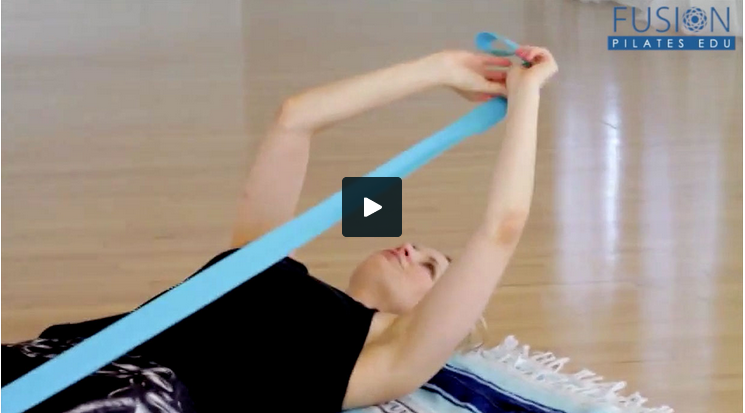
 Then, of course, there’s the loaded 180-degree range of motion in shoulder flexion and external rotation required for the semicircle… which is no easy task! That’s why I introduce the exercise I call Elbows Forward-Hands Back. It allows the student to practice strengthening the external rotator cuff muscles while simultaneously stretching pec major and friends. Watch the next video below to see what I mean.
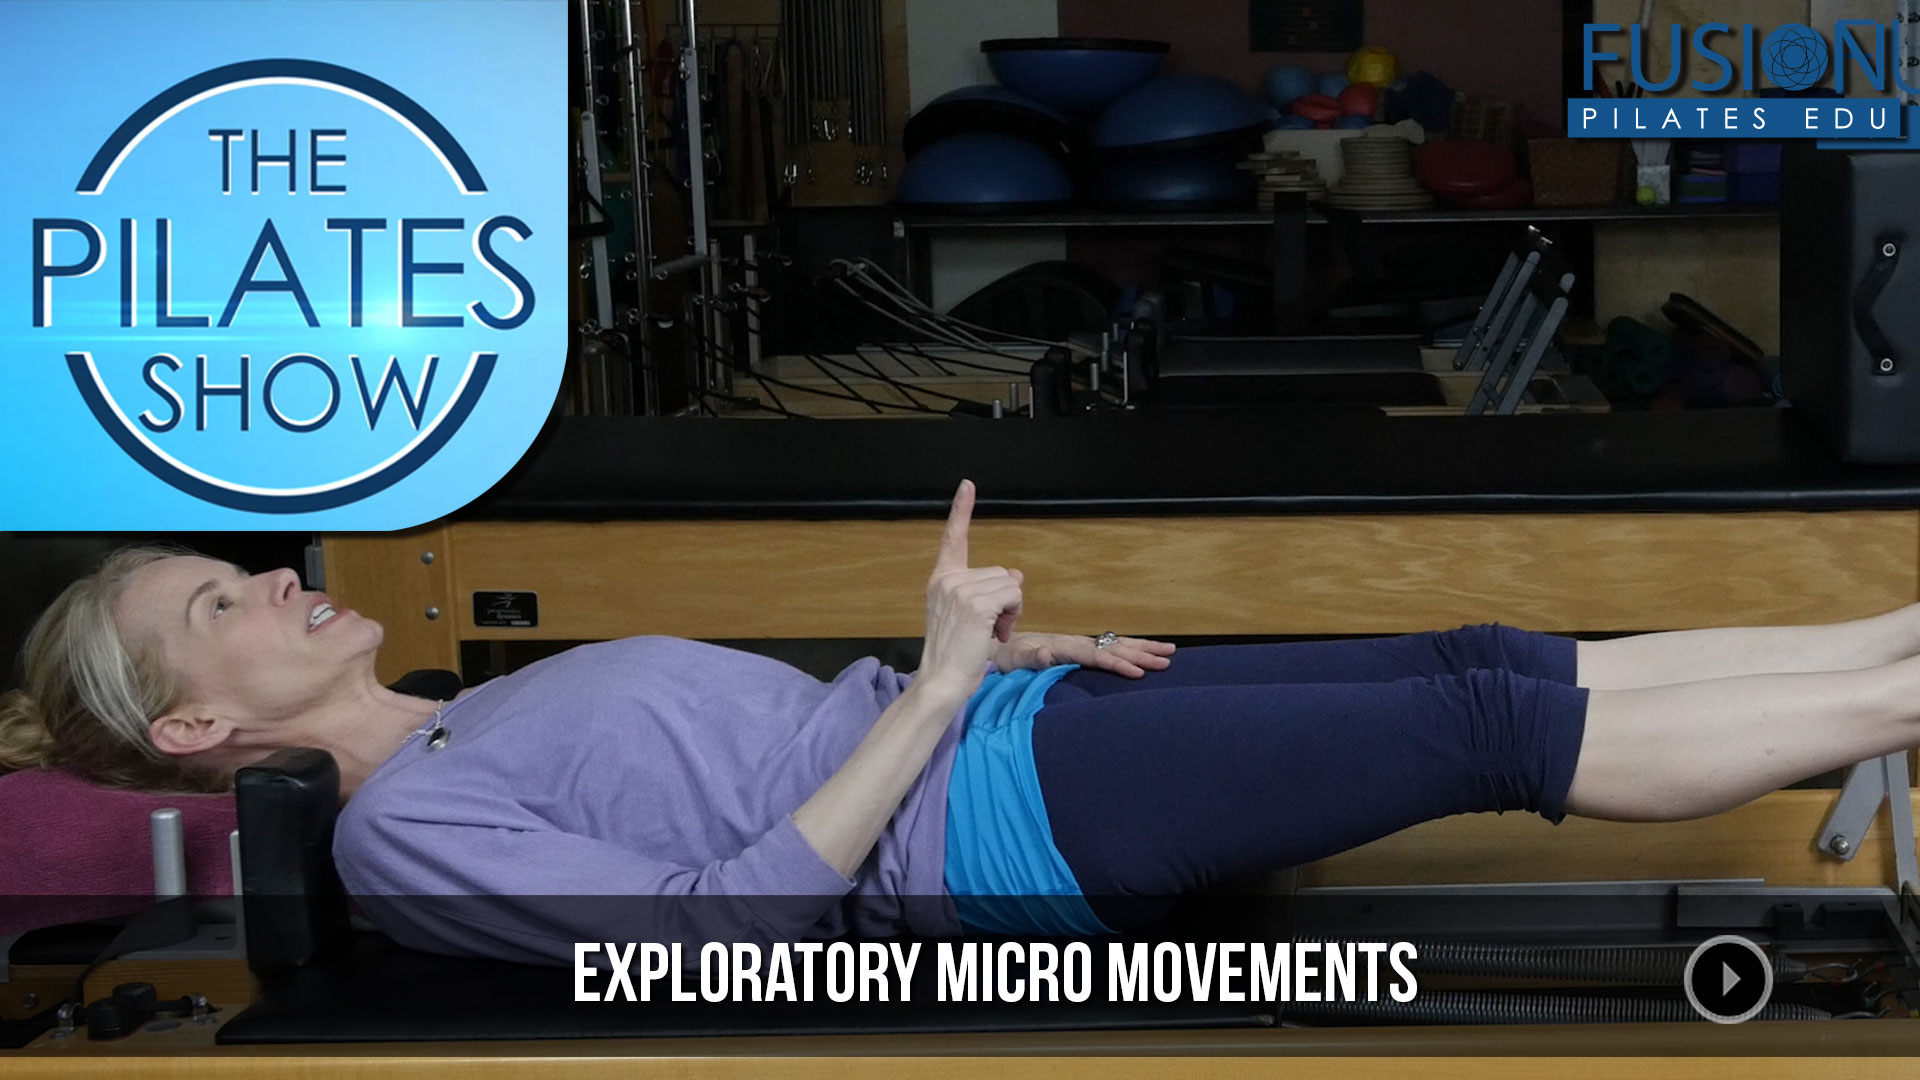
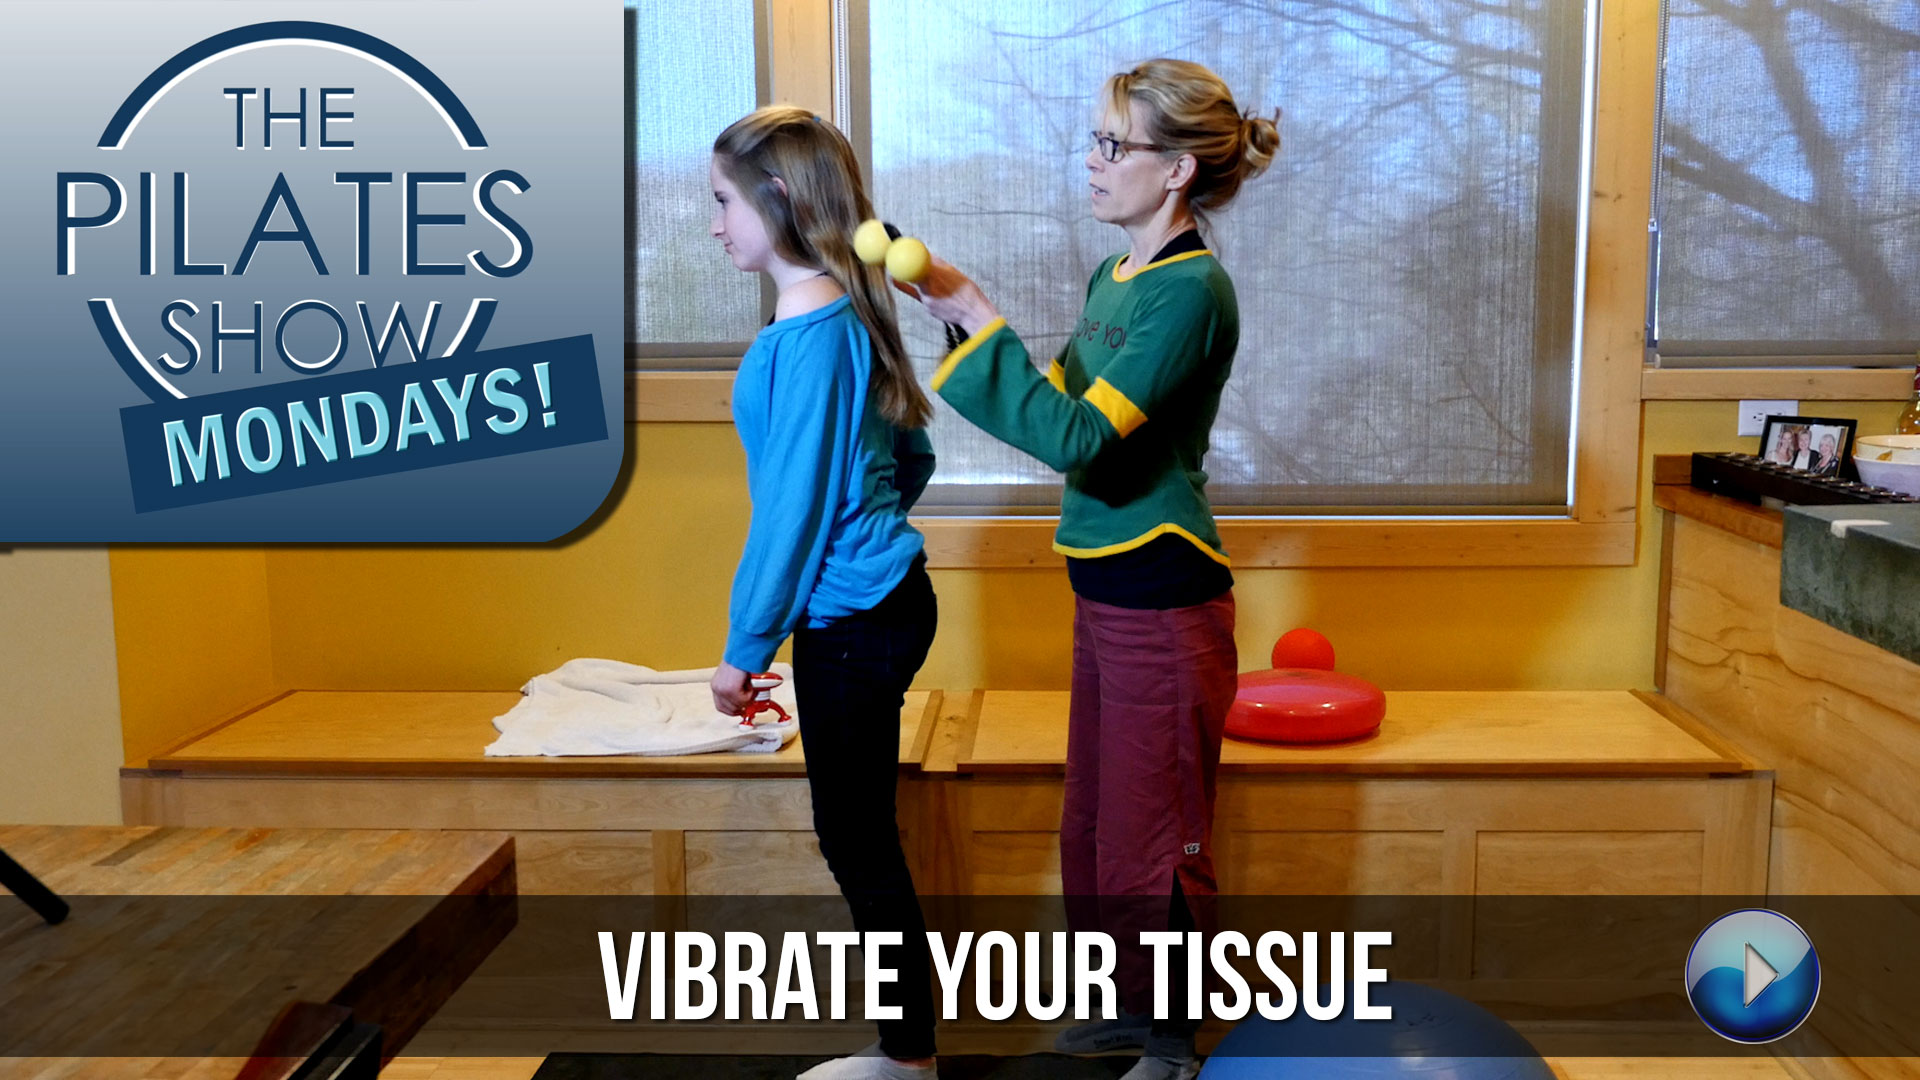
 Do you know one thing that people love more than doing Pilates with you?


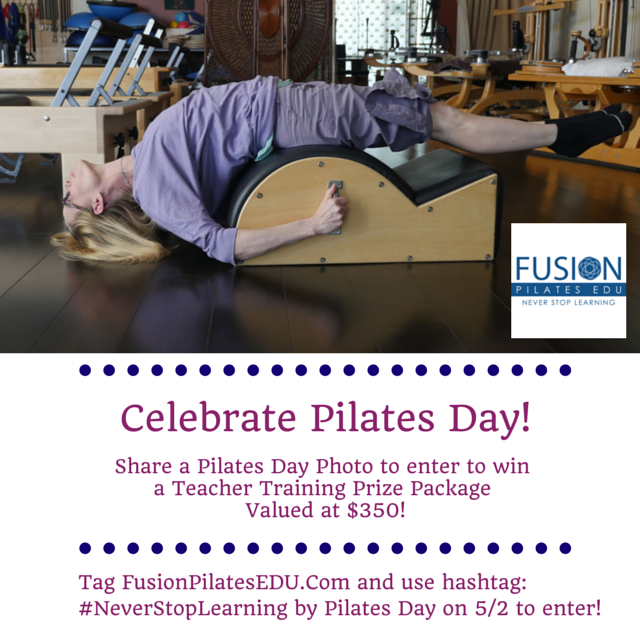

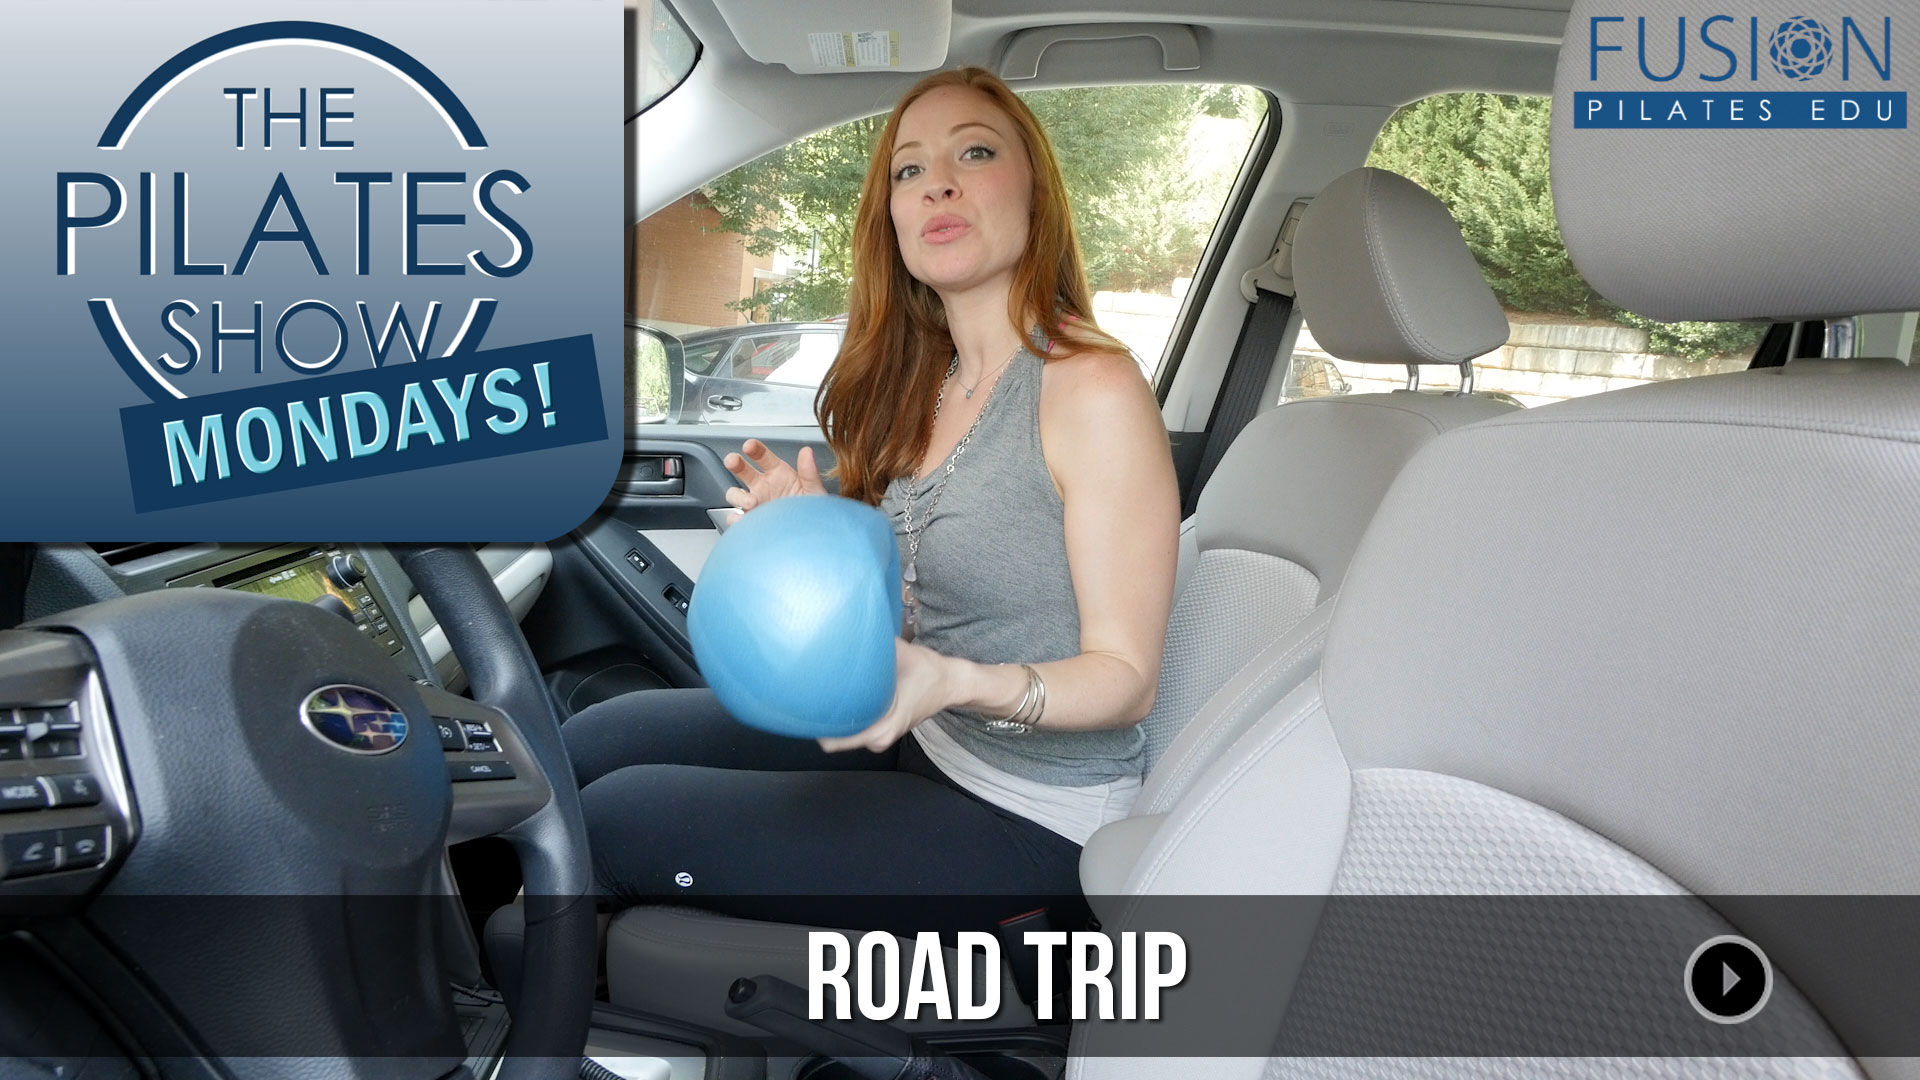
 Basically, this is a celebration of all things Pilates, so we want to see photos of Pilates in your everyday life … and give you a prize that will make you and your clients feel good! Check out our Pilates Day thoughts here.
 Prize Details: In this