<< Planing StageWorkshop Planning
FDU Online Workshop Planning
Please review this as you plan your workshop and don’t hesitate to emailus@FusionPilatesEDU.com with any questions or if there’s anything we can do to help make this process as easy as possible. The info here is not in any way a suggestion of how you should structure your workshop. Instead, we just wanted to offer some general guidelines on how some of our projects have been structured. This is not meant to influence your vision for your workshop in any way.
Pre-Shoot Outline
Once you have a general idea of your topic and how you’d like to organize your workshop, we’d love to receive a rough outline if possible. This doesn’t have to be fancy or overly detailed – but it will allow us to get a general idea of what you plan on doing and will be something we can follow along with on the shoot. This outline will also help our post-production staff create the PDF handout that users will get with your workshop.
Overhead shots and wall work can be problematic – so please let us know if you have anything like this or anything out of the ordinary planned so that we can prepare properly.
Length
Please make sure your workshop will have a finished running time of at least 2 hours. It’s absolutely fine to produce shorter workshops if you wish – but in this case, we will need to shoot more than one workshop per day to be efficient.
There have been several occasions where a Presenter thought they had a minimum of two hours of material and was caught off guard when they were finished after only an hour and a half! It’s definitely better to have more prepared than less.
Please contact us if you think any of your workshops will have a running time of less than two hours.
2 to 3 hours seems to be the most popular length and our pricing is based on length. If you have a program that needs more time – please let’s discuss.
Structure
This is a sample structure. The way you structure your workshop is completely up to you. Let us know if you’d like any feedback on your ideas – Jennifer is great at brainstorming if needed.
- Introduction & Overview: Briefly introduce yourself, where people can find out more about you, the topic, and what will be covered. We use the first two minutes or so as a teaser – so anything you can say about what you plan on teaching here will help grab people’s interest in purchasing your workshop.
- Anatomy: Go through any related anatomy if applicable
- Movement Principles relating to the topic if applicable
- Exercises and application
- Short Outro
Again – this is just an example. Your workshop does not need to follow this structure in any way.
The Way We Shoot
The most efficient way to shoot these workshops is in long chunks – similar to how you would present live. The only reason we would need to cut is to reset for equipment changes if there is a technical issue, or when you need a break. But we are happy to shoot short segments or in any way that will make you and your model most comfortable.
Using Equipment
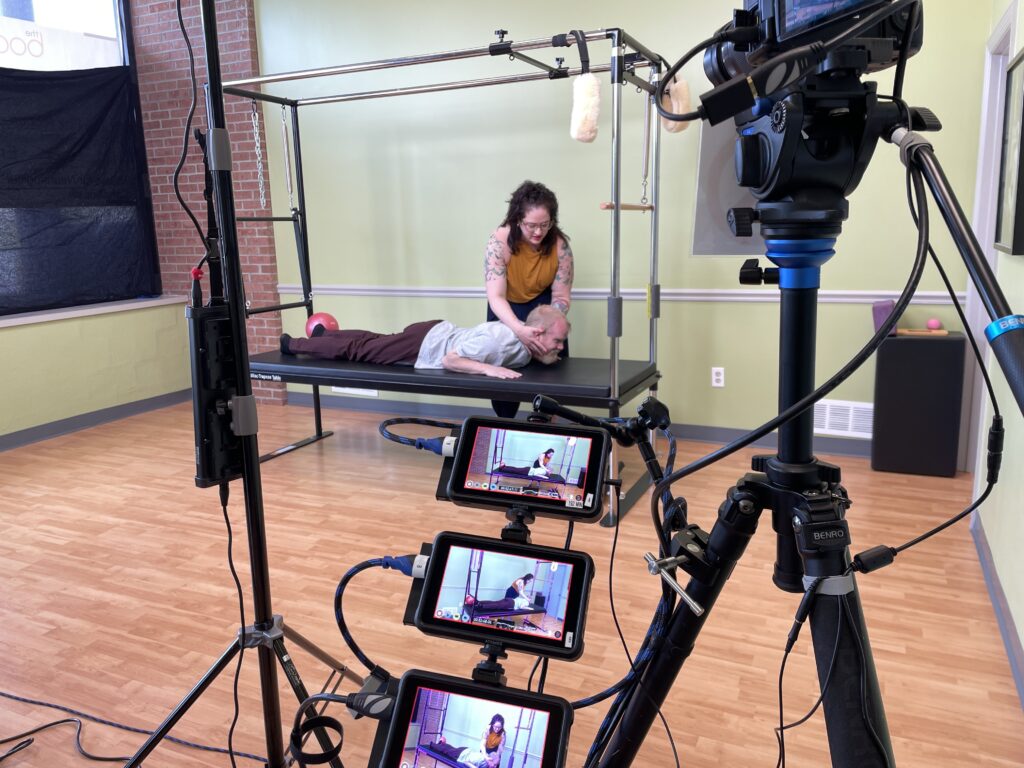
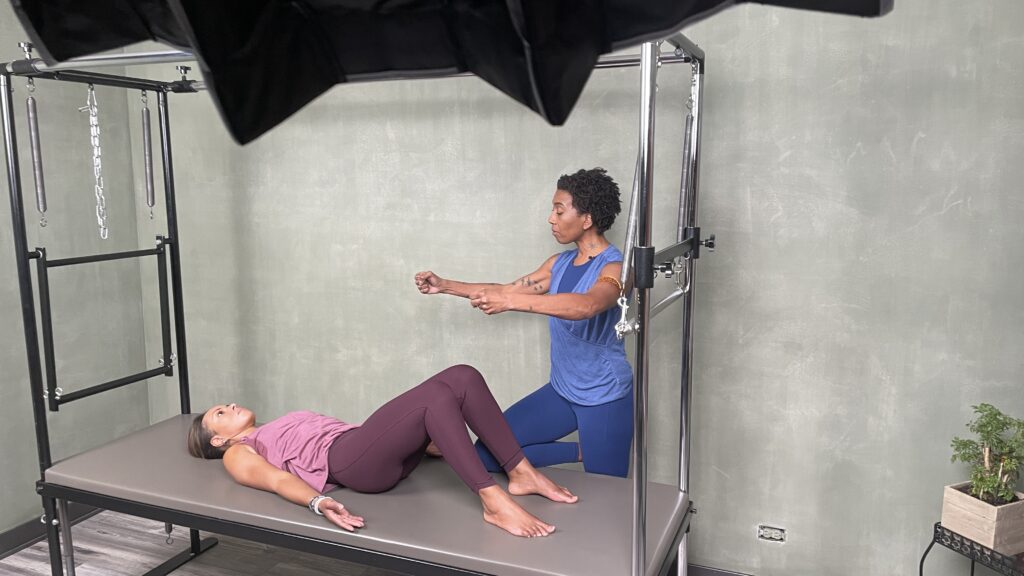
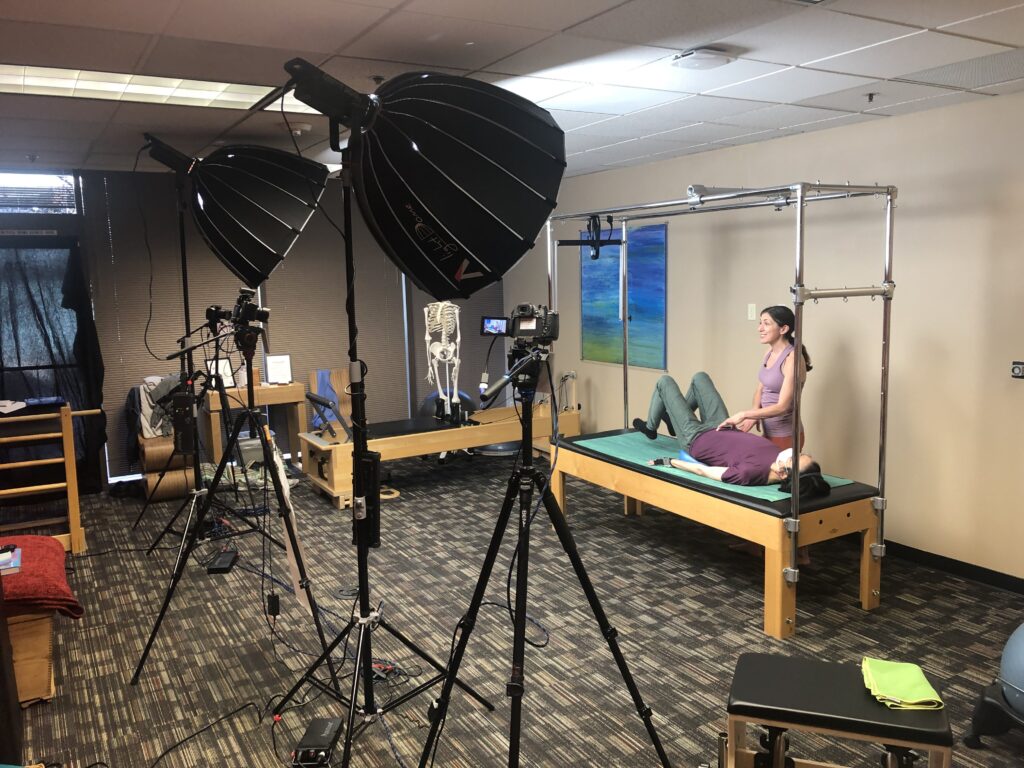
It’s best to shoot all of one piece of equipment at a time when applicable. Meaning, all the reformer exercises, then all the Cadillac exercises. Of course, this is more efficient for the shoot so we don’t have to move things around too much. But even more important is that it’s better for the viewer. Many of the students who will be watching your video will be in a studio and doing the exercises as the workshop progresses. We’ve had feedback that it can be frustrating for them to have to move back and forth between the different equipment as they take the workshop.
Bullet Points for Reference
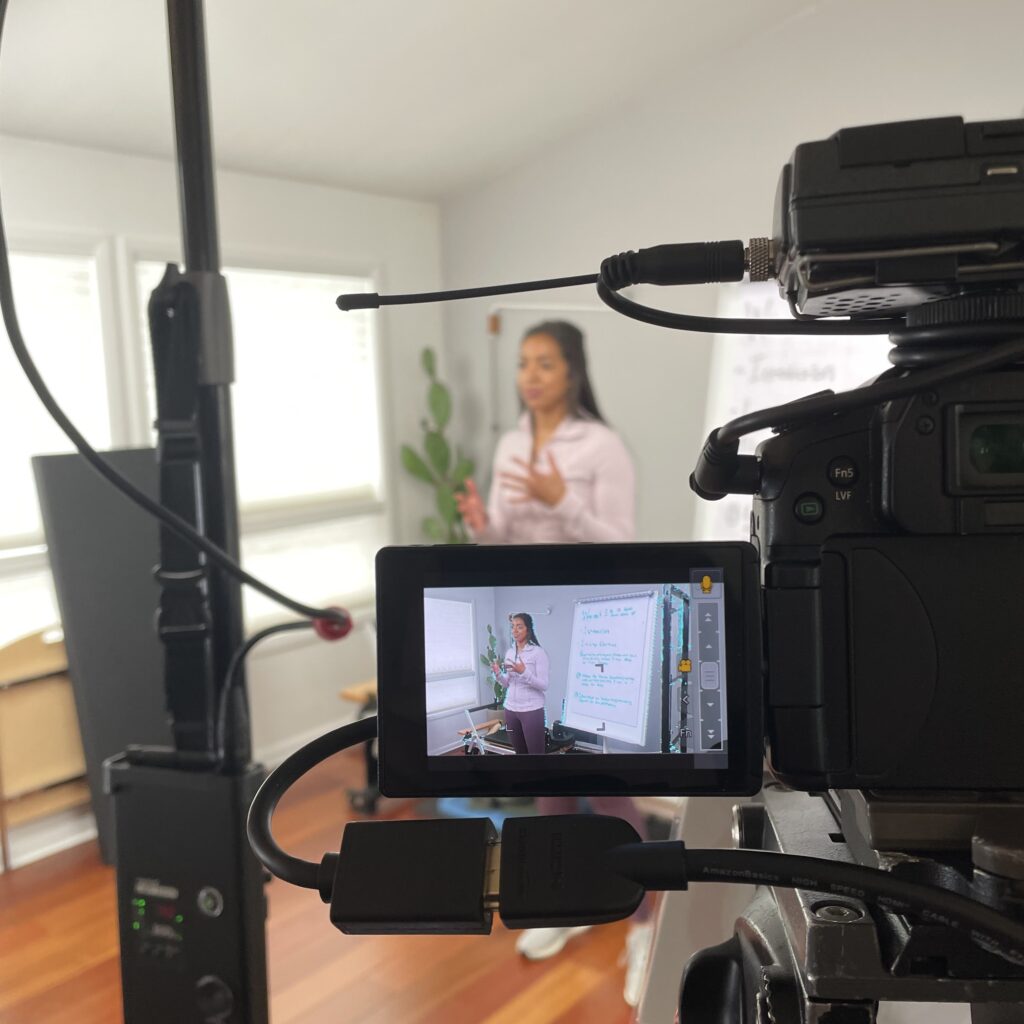
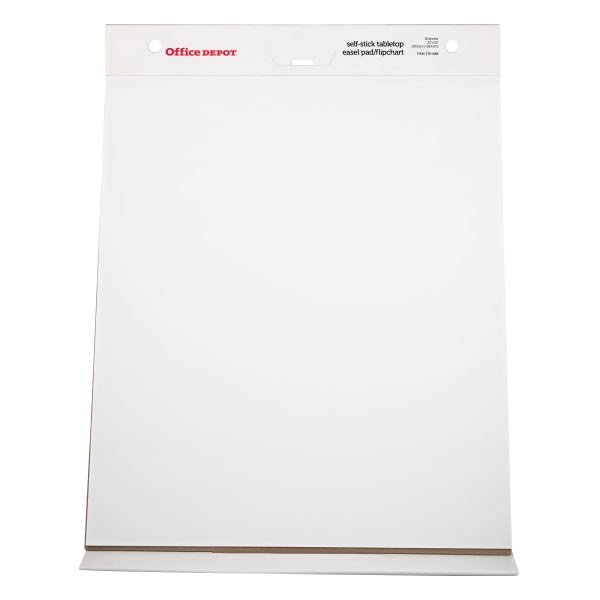 Most presenters find it extremely helpful to have a large pad with bullet points that can be referenced as we shoot. If you can create bullet points of the items you want to cover beforehand on a large easel pad like THIS . We can hang it directly below the main camera so that you can reference it as needed to make sure you stay on track and don’t miss any sections of your workshop. Too much detail on this will be extremely distracting though. We recommend only very very general bullet points.
Models
A presenter demonstrating on and teaching one model seems to be the best scenario. It gives you the chance to step back from your work and notice things that are happening in the model’s body – forcing modifications and additional information that will help the viewer grasp the techniques you are trying to teach. Please let us know if this doesn’t sound right for your workshop.
The Invisible Question
You won’t have your usual group of students there in front of you asking those great questions – but those questions are important! It can be very valuable for you to take some time to think about and answer the questions that would come up if you were presenting your topic live.
Show & Go
Don’t worry too much about balancing the model (maybe mention that normally you’d do the other side) or doing tons of reps. Of course – if there is something the viewer can learn by balancing the exercise or if the models prefer it – please do.
Credit
If you are using any exercises or techniques that were taught to you by a mentor or are based on another instructor’s work – please give credit where credit is due.
 Props, Equipment, & Walls
It can be very frustrating for a user to watch a video they have purchased and think they can not apply the techniques because they don’t have the correct equipment. It’s important that we use equipment and props that the majority of instructors have access to. It’s also great if you can offer options whenever applicable (“If you don’t have a posture pillow, use a rolled-up towel…”). If you plan on using special or rare equipment – please contact us to chat about it!
Wall work is difficult to shoot properly. We understand that sometimes it is necessary to include this though, so if this is the case for your workshop please let us know beforehand and we’ll make a plan.
Scripts
 In our experience, using a teleprompter or trying to memorize a script you’ve written beforehand is absolutely not the way to go. This will cause you a great deal of stress – and the results are never optimal. It’s not important that you phrase things absolutely perfectly. It’s much better and more natural to do what you do when teaching a live course. We can always position a bullet point pad near the main camera for you to list general topics that you can refer to during each section in order to make sure you cover what you want to cover.